13 Dressage Freestyle Choreography Secrets That Can Improve Your Score
Small changes in your floor plan can make your freestyle more creative, easier to ride, and more competitive.
Below are 13 of my favorite choreography ideas from more than 20 years of designing custom freestyles. In the video, I draw each one on an arena diagram so you can see exactly how it works and adapt it for your own horse.
Watch the video before you begin drawing your floor plan, or keep it playing as you work through the tips below. Pay special attention to Tip #9. It is one of the most common freestyle mistakes I see, and one of the easiest to avoid!
1. Use Your Secondary Letters
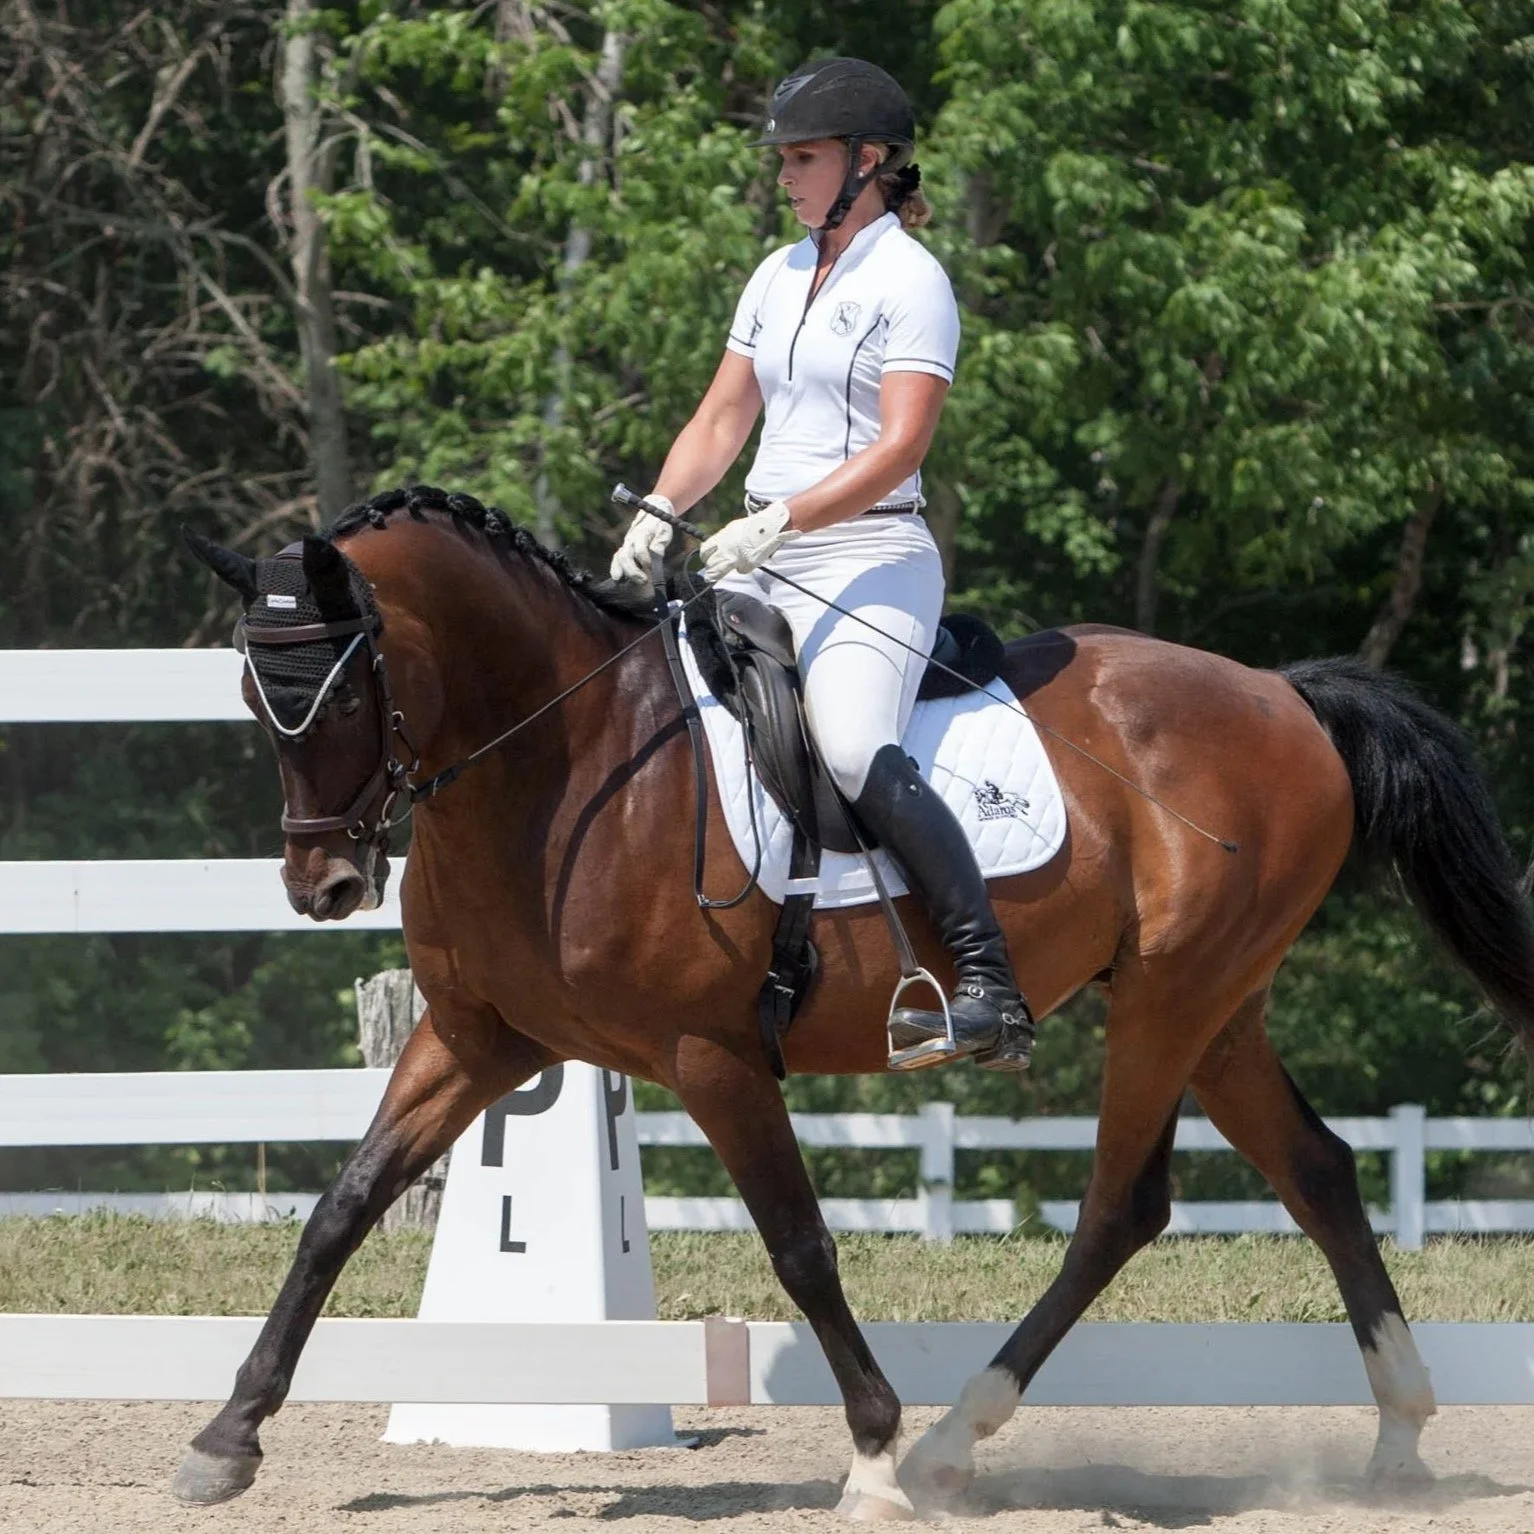
In a standard dressage test, movements are usually performed in familiar, predictable places. A freestyle gives you the opportunity to take those same movements and place them somewhere less expected.
Remember the secondary letters along the rail: S, R, V, and P. You also have D, L, I, and G on the centerline.
Depending on your level, you might place a circle at R, S, V, or P, or use a secondary letter to begin a lateral movement, flying change, or another required movement. You can even begin a movement between letters. The judge does not know your intended floor plan, so you have flexibility to adjust your choreography to fit your music and your horse.
2. Shorten Your Arena
Who says you have to ride into every corner?
You can purposefully cut off an end of the arena by turning before the corner and treating that line as your temporary “wall.” This is especially helpful for a smaller or slower-moving horse when you are struggling to stay within the freestyle time limit.
It also creates a useful adjustment point at a show. If your horse is moving faster than expected and you get ahead of your music, you can ride all the way into the corner and follow the rail to use a little more time.
3. Maximize Your Centerline
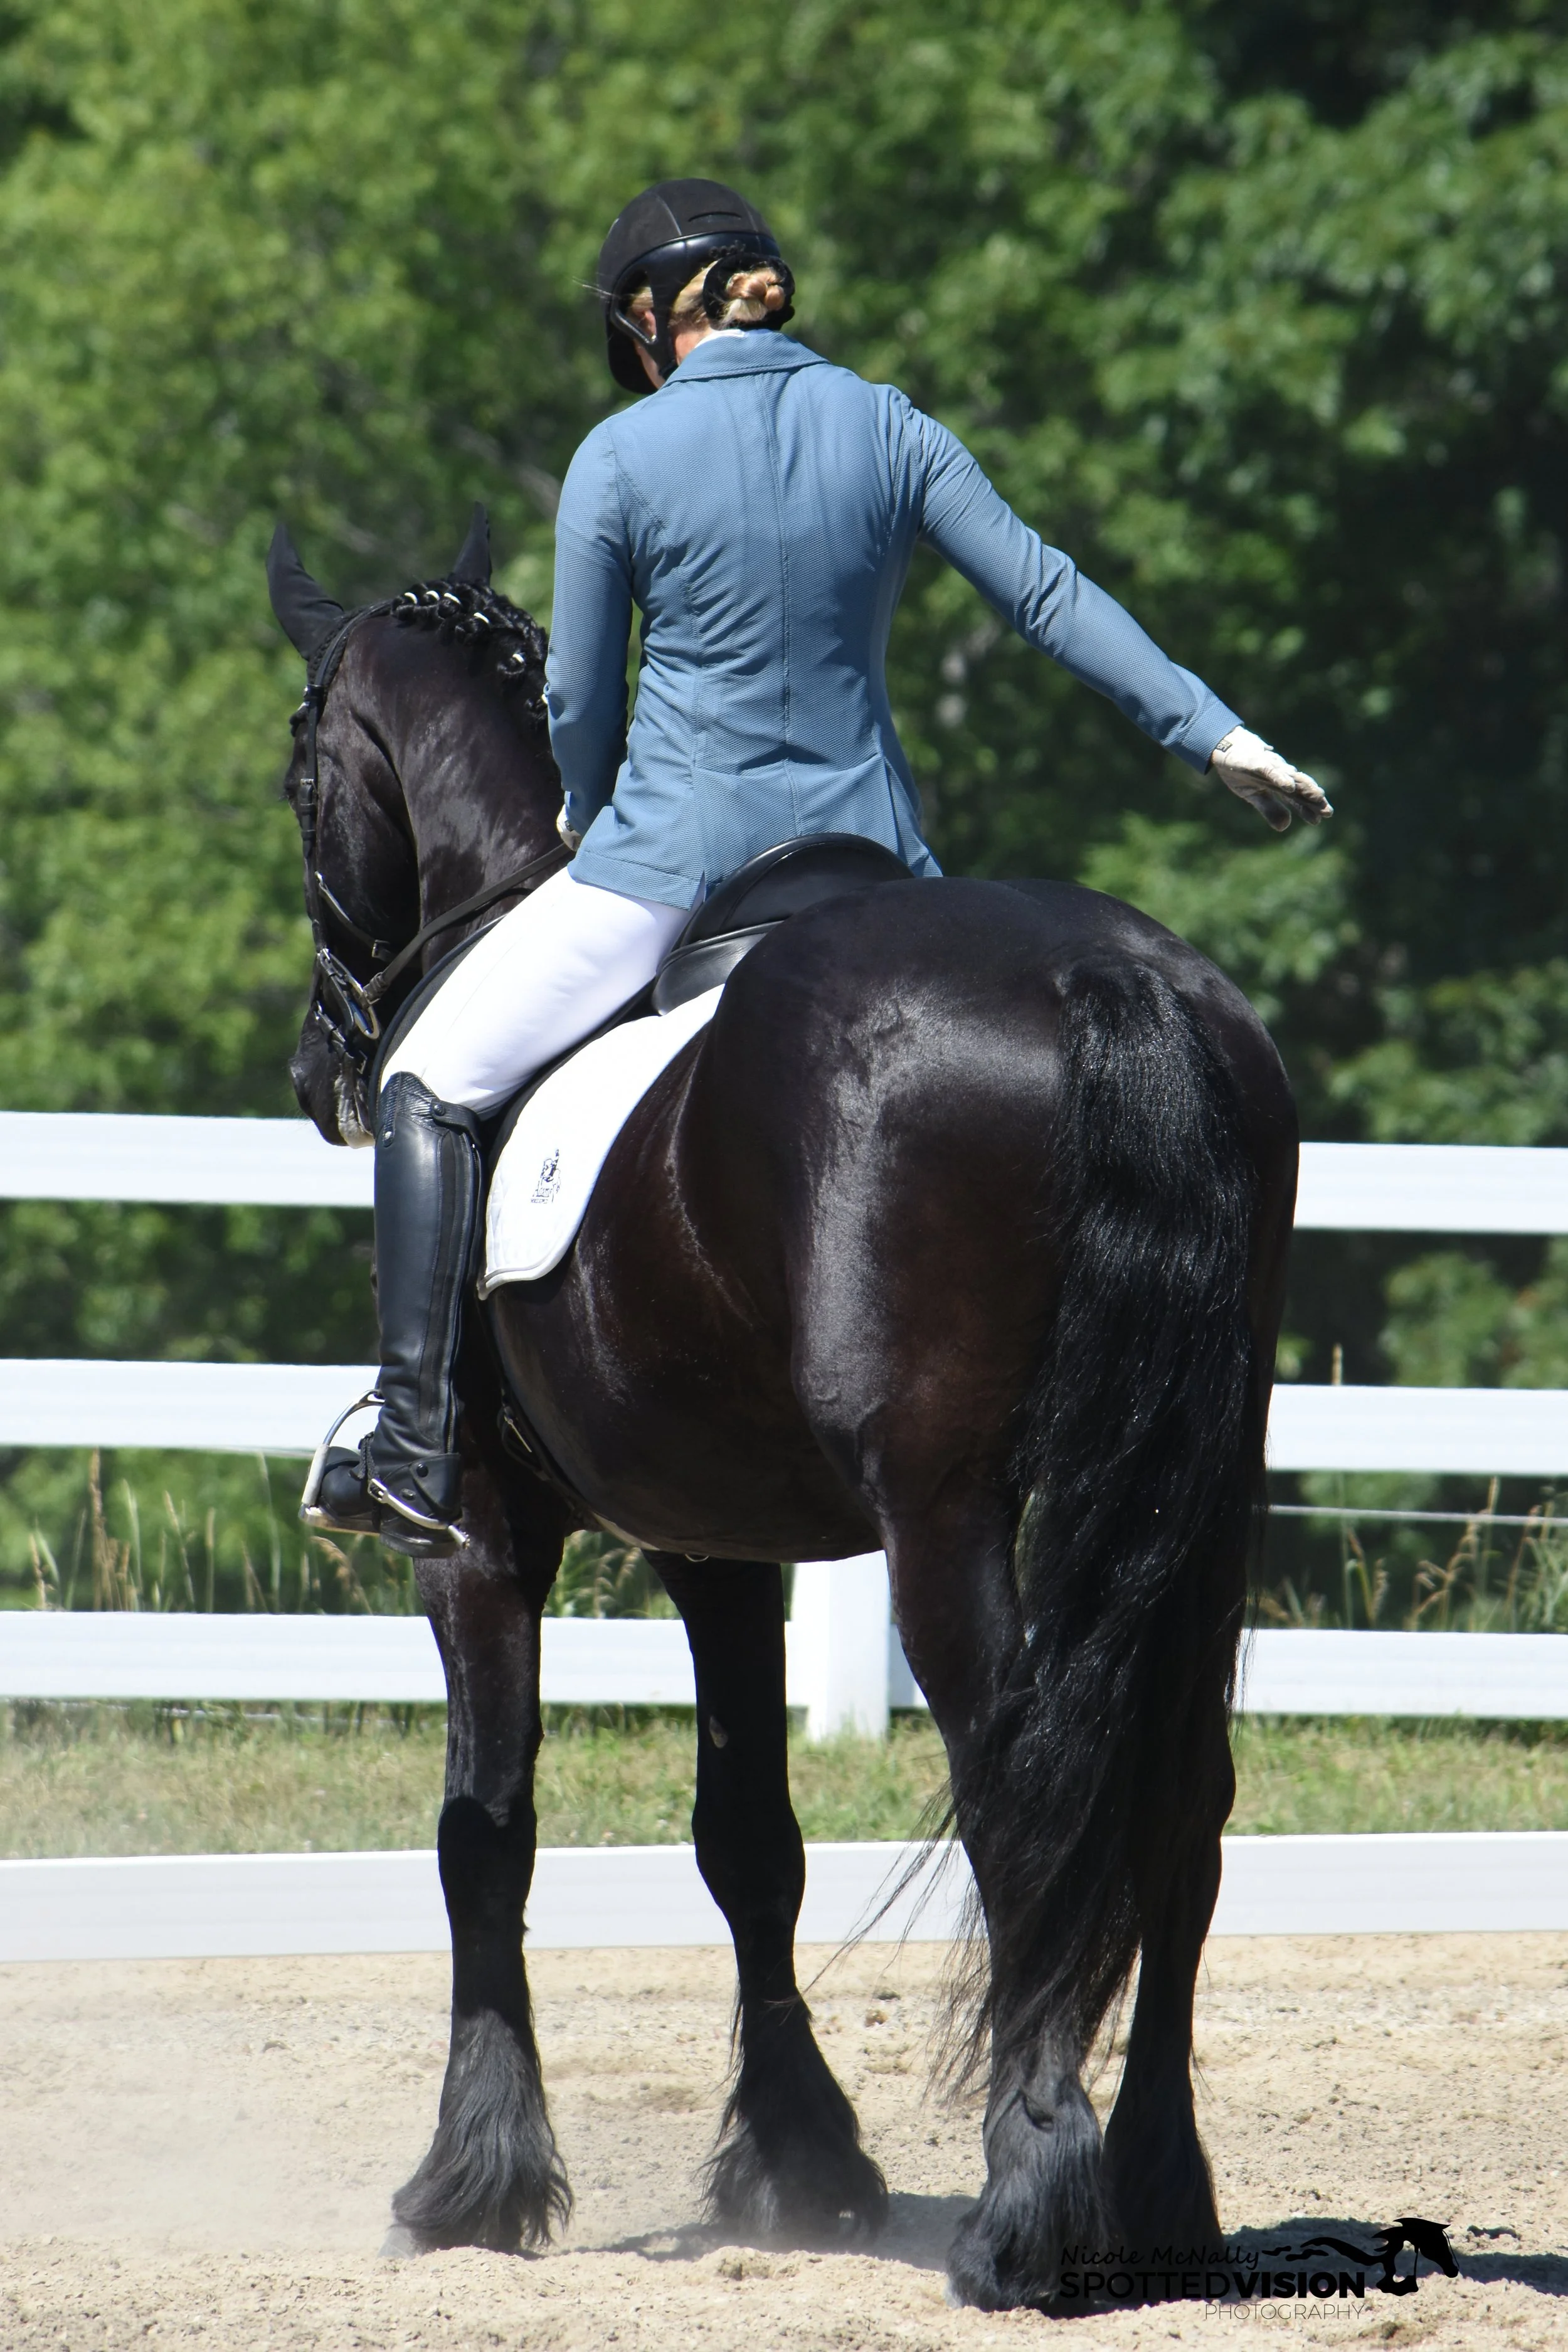
Be intentional about where you halt on your opening centerline. Riders often enter, halt at X, and then make a loop back toward A simply to set up the first real movement. That uses valuable time and space without adding much to the choreography.
Instead, consider halting at D or L. You will then have plenty of centerline ahead of you for a movement that makes an immediate impression.
If you want to begin with an extended trot across a diagonal, you might travel farther down the centerline and halt at I. That places you closer to the corner and lets you begin the diagonal sooner.
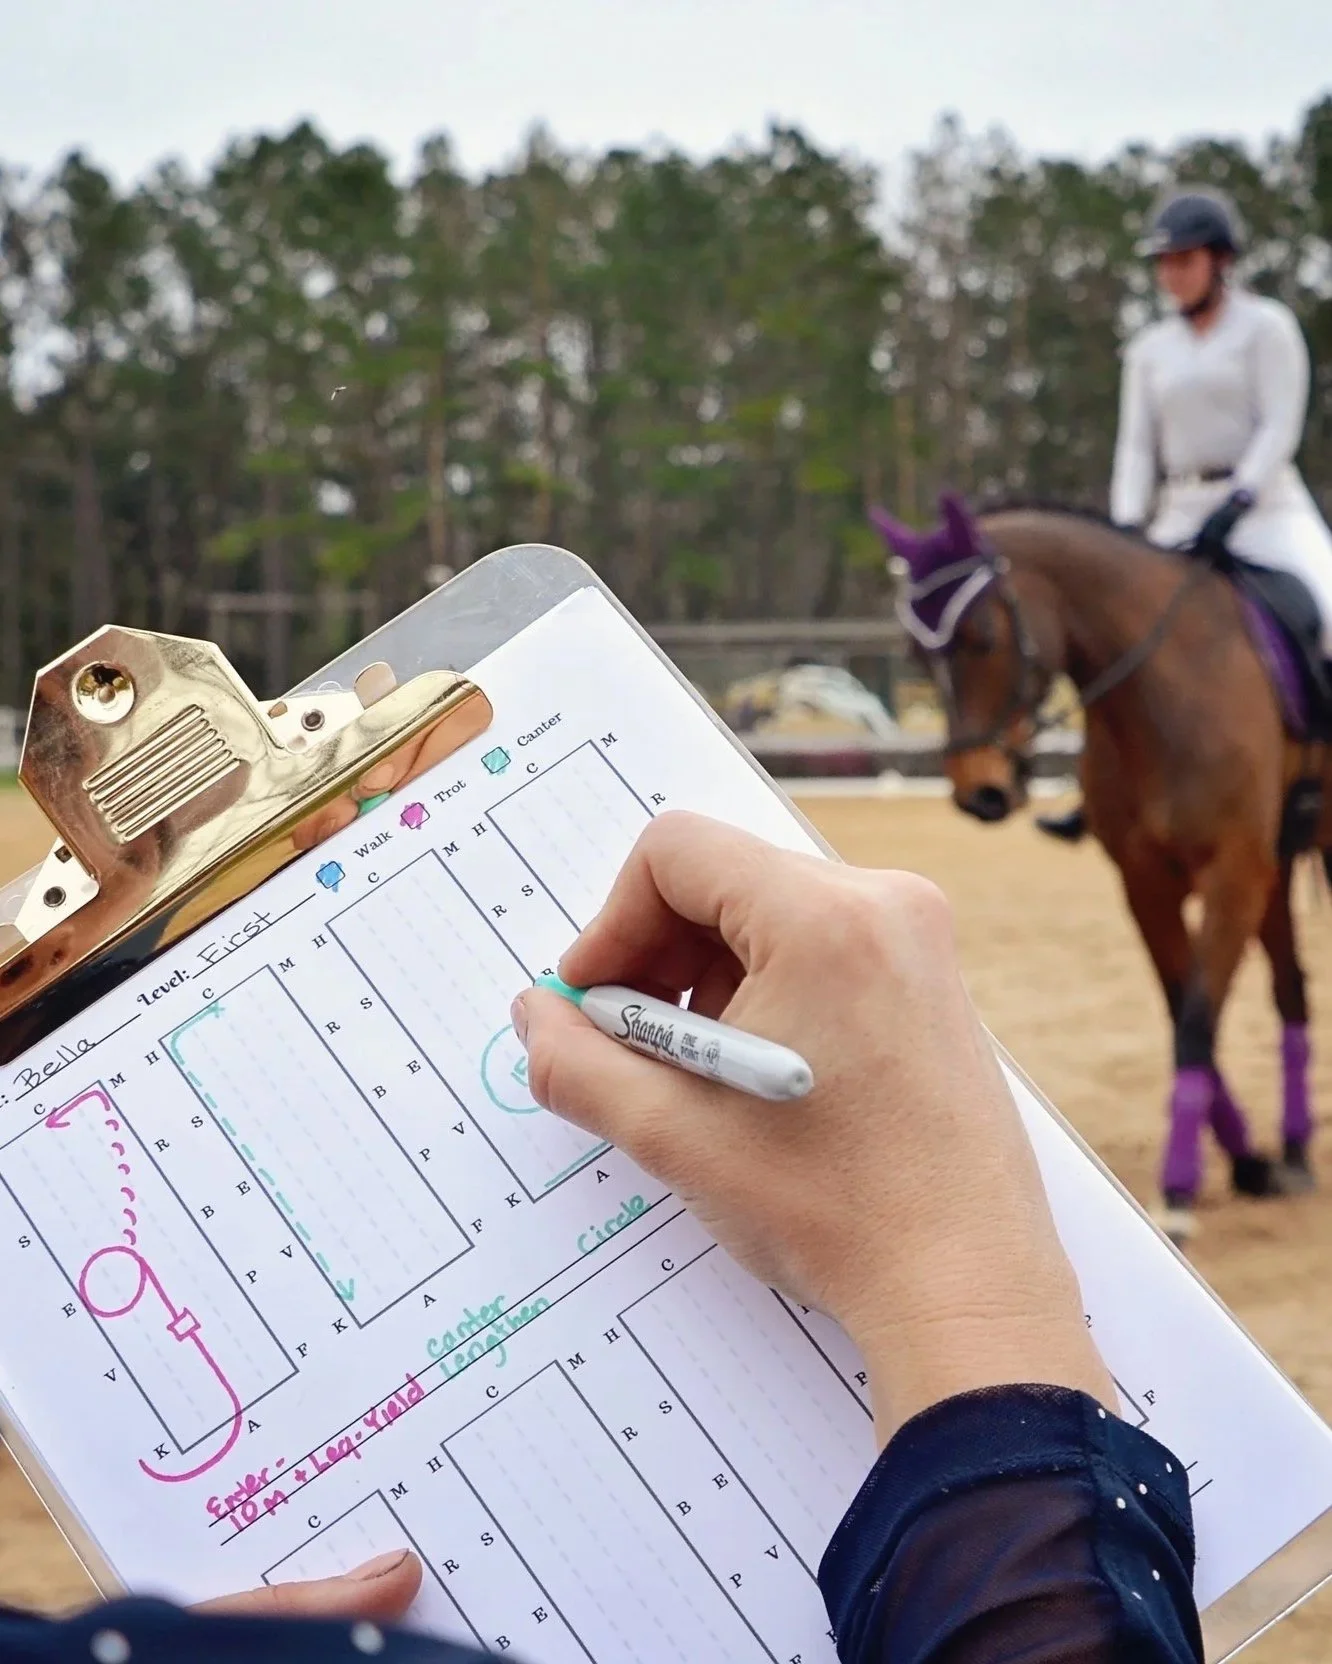
Download Freestyle Freebies to access this Blank Diagram page.
4. Check Arena Balance
When you draw your routine, step back and look at the entire page. Are all your circles at one end? Does most of your lateral work happen on one side? Are several movements repeatedly coming out of the same corner?
Your routine does not need to be perfectly symmetrical. In fact, too much symmetry can make it feel like a standard test. However, the overall pattern should feel balanced and organized.
Whenever possible, show lateral movements toward the judge and use diagonals for extended gaits so the judge has a clear view. Then distribute the rest of your choreography throughout the arena rather than crowding everything into one area.
5. Add a Splash of Counter Canter
At First Level and above, counter canter can be a creative way to connect movements. You might carry it through the short side before extending across a diagonal, or use it at an upper level to create an interesting setup for flying changes.
At First Level, counter canter is an additionally allowed movement, so a small amount on one side may add interest and improve the degree of difficulty. At upper levels, it can demonstrate that your horse stays balanced, confident, and responsive to the aids.
As with any optional challenge, only include it when your horse can perform it reliably.
6. Build in a “Joker Line”
Design your freestyle around the horse you will actually be riding in the show ring. Does your horse tend to become quick and tense, or slow and over-collected? Give yourself places in the routine where you can respond.
At the upper levels, riders sometimes include an extra opportunity to repeat a movement if the first attempt does not go well. This is often called a joker line or junk line. You might plan a second extended canter or leave enough room on the final centerline to repeat tempi changes.
You can apply the same idea to trot work by identifying a place where an additional lateral movement could be added if necessary. You may never need your backup option, but knowing it is there can help you ride with more confidence.
7. Use Your Quarter Lines
Quarter lines are some of my favorite tools for freestyle choreography. They look more creative than the rail, but they are still easy to judge and navigate.
Try using them for:
Lengthenings or extensions
Leg yields and half-pass zigzags
Shoulder-in
Changes of lead through trot
Circles placed in less predictable locations
Quarter lines also give you room to adjust your timing. If you are ahead of the music, you may be able to ride deeper into a corner and use the rail. If you are behind, you can move the same line inward to shorten your path.
This tip is much easier to understand visually, so watch the quarter-line diagrams in the video before trying it in your own routine.
8. Make Creative Use of the Centerline
The centerline is not just for your entrance and final halt. Depending on your level, it can be used for lateral movements, collected or free walk, extensions, flying changes, or other creative combinations.
There is a tradeoff: the centerline makes accuracy very easy for the judge to see. For example, shoulder-in on the centerline can have a high degree of difficulty, but any loss of angle or straightness will also be obvious.
Use that visibility to your advantage. A horse without a naturally extravagant gait may still earn points by showing straightness, obedience, suppleness, and accuracy on a well-designed centerline.
9. Don’t Run Out of Centerline
This is one of the most common mistakes I see: a rider comes up the final centerline, arrives directly in front of the judge, halts…and the music keeps playing.
That is what I call running out of centerline.
For a first-time freestyle rider, I often place the final halt around X. That leaves extra “runway” if the horse arrives ahead of the music. You can continue a little farther before halting rather than getting stuck at G with nowhere left to go.
You should also have a backup plan earlier in the routine. If you are ahead of the music, you might ride farther into a corner, take a longer diagonal, or add a permitted movement that uses a little more time.
If you do halt before the music finishes, maintain a polished square halt and try to time your salute with the final accent. It will look more intentional than saluting early and waiting awkwardly for the music to end.
10. Include Transitions in Your Entrance
The entrance is your first opportunity to show the judge that your choreography and music belong together.
If the music begins softly and then builds, you could enter at the walk and make a transition to trot or canter on a clear musical change. Other possibilities include trot to canter, walk to canter, or walk to trot.
You can also include an impressive movement farther down the centerline, such as an extension, flying changes, or passage, when appropriate for your horse and level. These movements may not count toward the technical requirements in that location, so only use them when they add genuine artistic impact and your horse performs them confidently.
11. Feature an Unusual Transition
Standard tests tend to use familiar transition patterns. A freestyle allows you to make the transitions more distinctive.
Depending on your level, you might try:
Working or stretchy trot directly into free walk
Canter into free or extended walk
Collected walk into canter, followed immediately by extended canter
Extended canter directly into a canter pirouette
These combinations can demonstrate responsiveness, impulsion, balance, and a high degree of difficulty. However, they only help your score when they suit your horse. If a particular movement is a weakness, do not create a transition that draws even more attention to it.
12. Experiment With Unique Diagonals
Not every diagonal needs to run from one corner to the opposite corner.
Use A and C as anchor points and experiment with lines that begin at A or C and travel toward a corner, or begin in a corner and aim toward A or C. At the canter, this can help you create a diagonal line without necessarily changing direction or requiring a flying change.
A diagonal that travels directly toward the judge can be especially impressive with a brave, confident horse. A line traveling away from the judge can work well too, but remember that the horse may be heading toward the out gate.
The drawings in the video show several versions of these diagonals and make it much easier to see which lead and direction will work.

13. Have a Plan for Mistakes
Even the best-designed freestyle will not always go exactly as planned. A horse may spook and fall behind the music, or become excited and carry you ahead of it. The time to decide what to do is before you enter the arena.
Study your floor plan and create two backup strategies:
What will you change if you are behind the music?
What will you change if you are ahead of the music?
Look for flexible lines. For example, if your medium canter is planned on the quarter line, you might move it toward the centerline to shorten the route when you are behind, or move it toward the rail to use more time when you are ahead.
The walk section is another useful place to adjust. You can make loops shallower to save time or deeper to use more time. You can also change where an extended walk line ends, as long as the new path still connects smoothly to the movement that follows.
A backup plan does more than save your timing. It helps prevent panic, allowing you to stay present and make a calm decision when something unexpected happens.
A Great Freestyle Should Be Creative and Rideable
The best choreography is not necessarily the most complicated. Choose ideas that showcase your horse, complement the music, fulfill the requirements, and give you flexibility in the arena. A few thoughtful lines, ridden accurately and confidently, will make a stronger impression than a routine packed with difficulty your horse cannot perform comfortably.
If you would like to see these ideas come to life, watch the video above. I draw the patterns on arena diagrams and explain the timing choices, adjustment points, and alternate routes that can be hard to visualize from text alone.
Then download my free Freestyle Freebies, which includes the printable diagram pages, a freestyle checklist, music worksheet, BPM range chart, and some of the apps and resources I use when creating routines.